

dbtとは
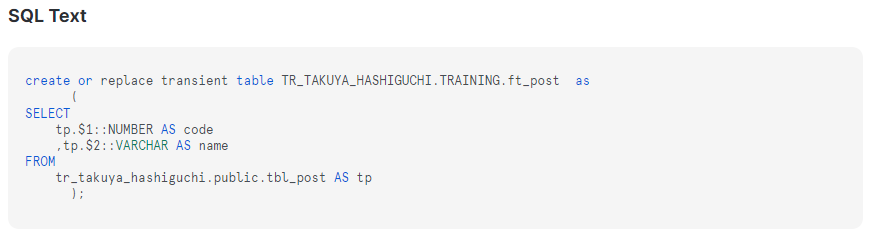
dbt (data build tool) は、データパイプラインを構築するためのツールです。データの前処理(ELT)におけるTransform(変換)を担当し、SELECT文を記述するだけでデータウェアハウス内のデータを変換できます。
公式リンク:https://www.getdbt.com/
Snowflake×dbtの環境準備
こちらのページ(https://knowledge.insight-lab.co.jp/snowflake/dbt-data-pipeline)で紹介した、データパイプライン構築で割愛した、Snowflakeとdbtの接続について共有します。
- アカウント作成
- プロジェクト作成
- Snowflakeと接続
- GitHubと接続
- Gitリポジトリと接続
- ブランチを切る
アカウント作成
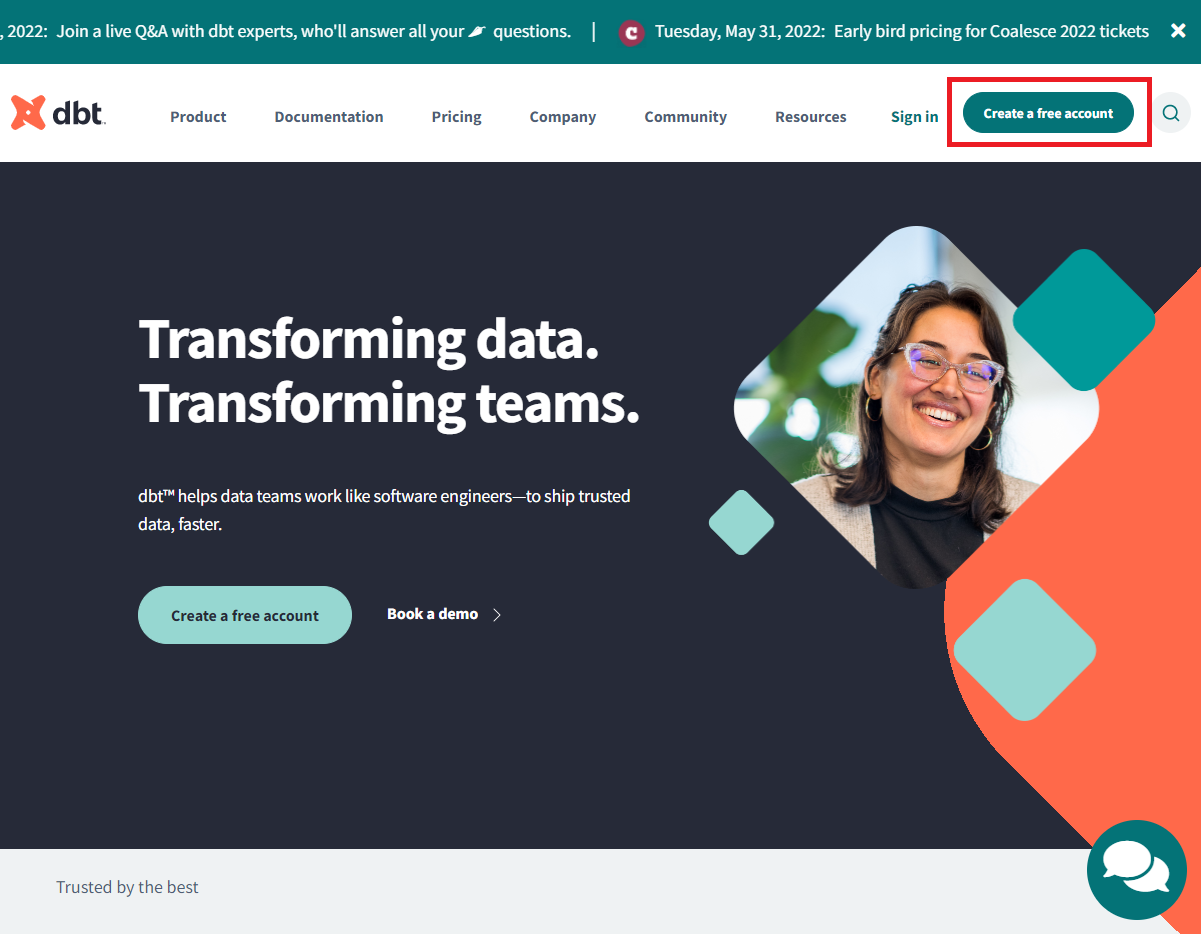
まずこちらのdbtのページからフリーアカウントを作成します。https://www.getdbt.com/
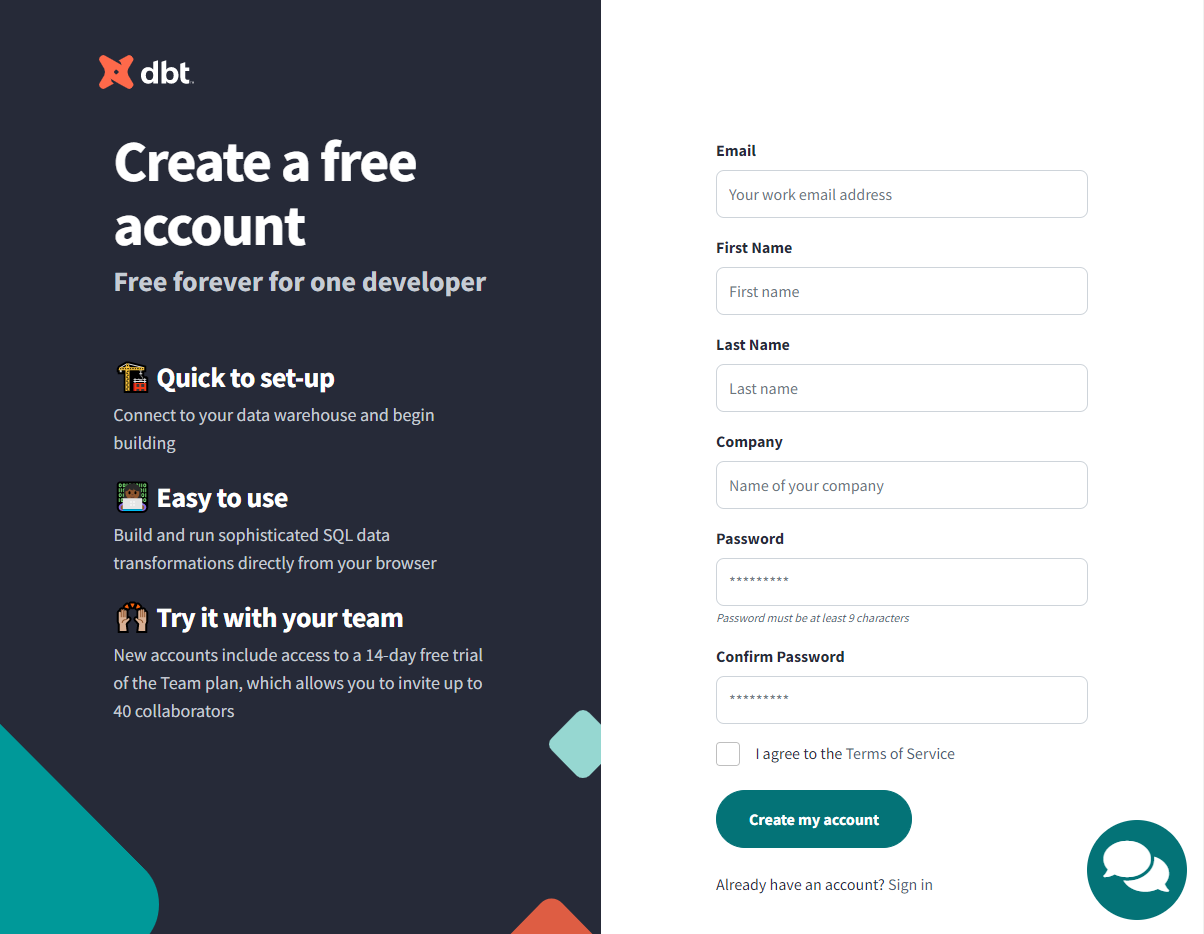
以下の画面が表示されるので、画面右上の [Create a free account] から、登録ページで必要事項を入力してアカウントを作成します。
プロジェクト作成
dbtにログインすると、以下のような画面になります。初めてのログインだとまた少し異なる画面になるかと思いますが、作業としては関係ないのでそこは省略します。
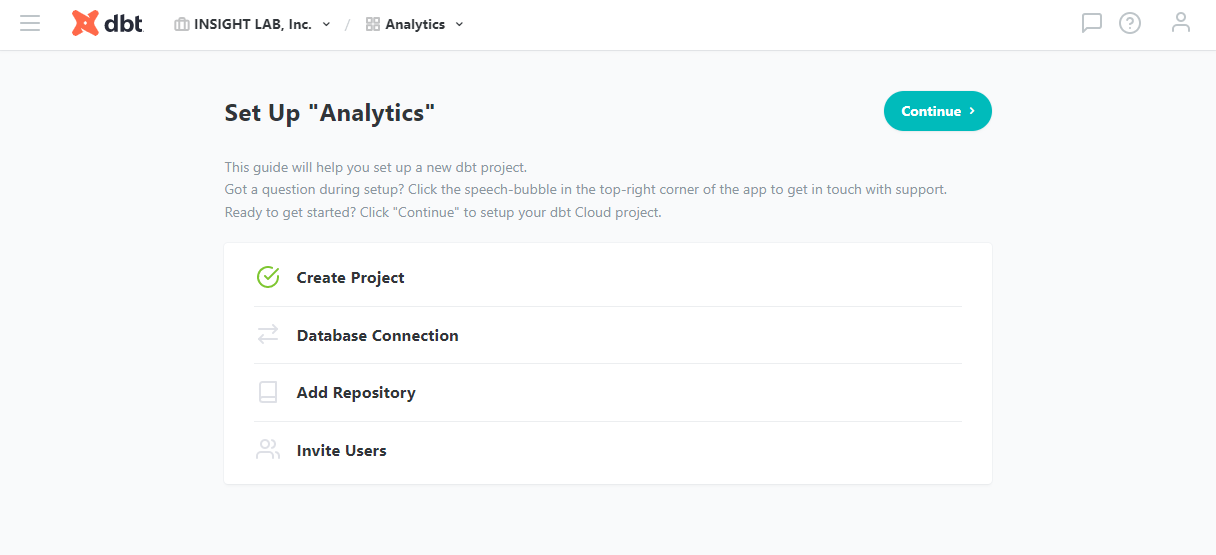
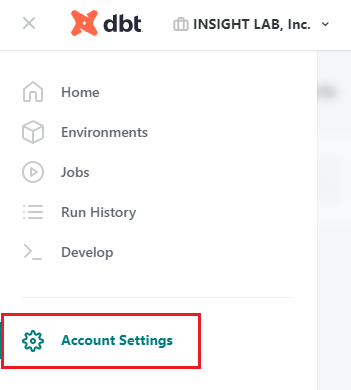
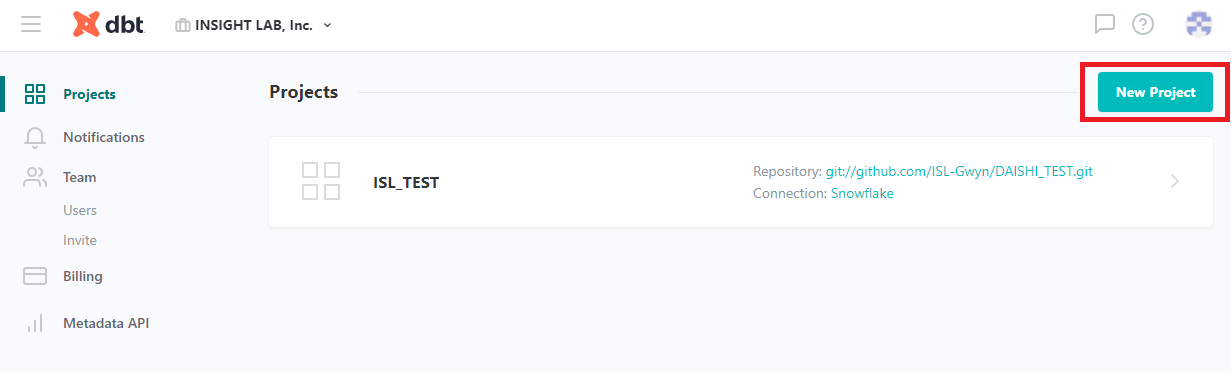
まずデータパイプライン構築のためのプロジェクトを作成します。画面(上画像)左上の [≡] から [Account Setting] を選択し、移動したページ右上の [New Project] をクリックします。
作成するプロジェクトに名前をつけ、画面右上の [Continue] をクリックします。
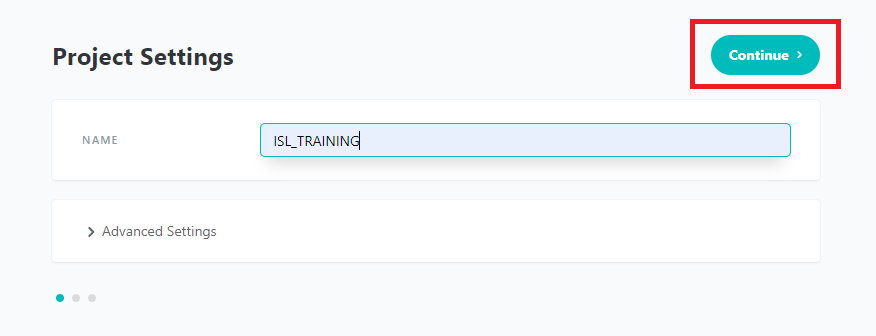
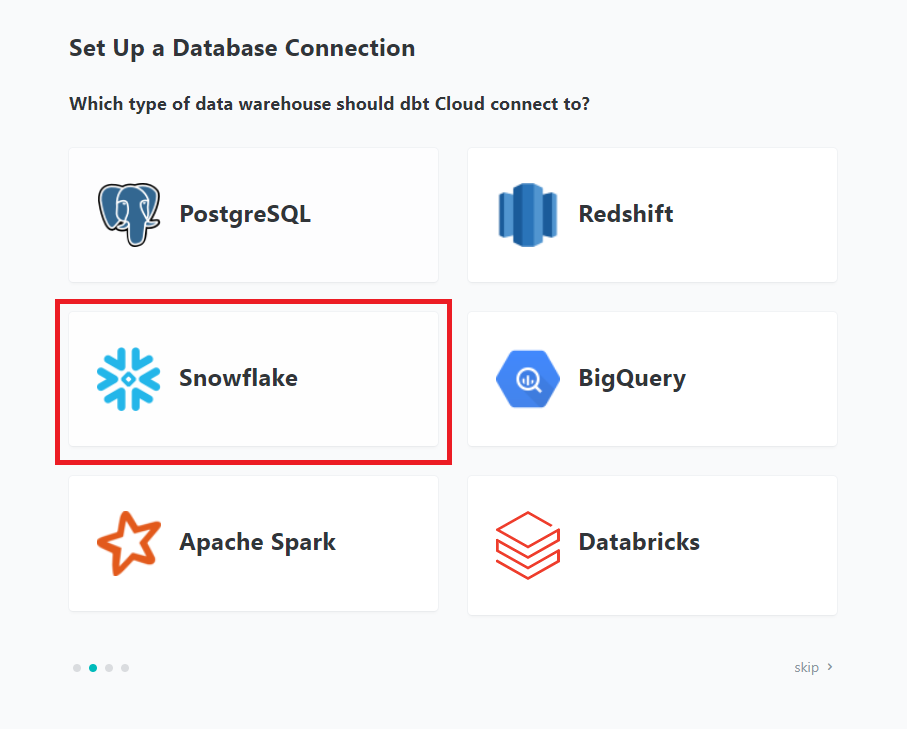
接続するDWHを選択します。今回はSnowflakeを指定します。
Snowflakeと接続
以下の画面に移るので、Snowflakeの接続設定を行います。
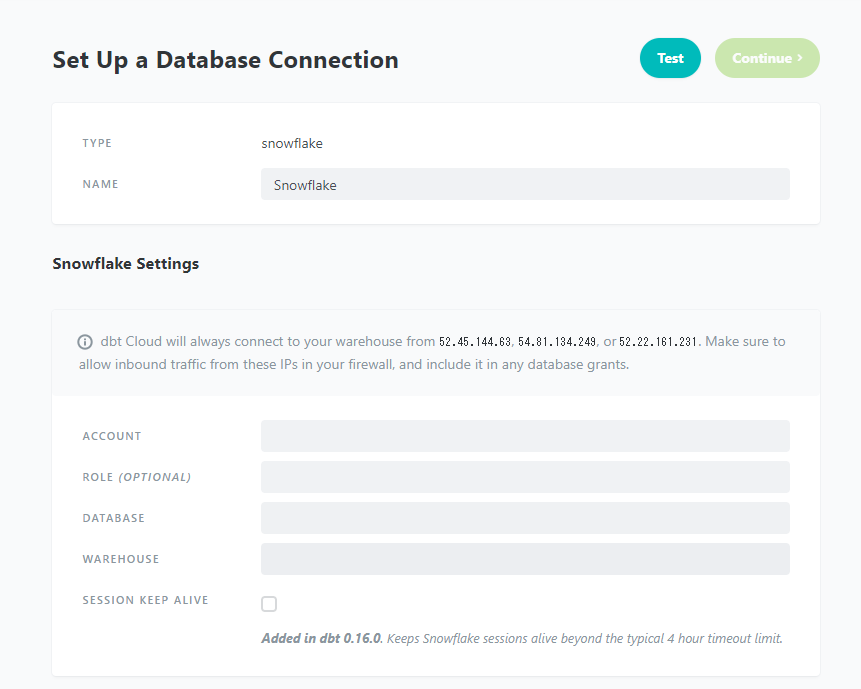
各入力項目の内容は以下の通りです。
-
ACCOUNT
-
接続するSnowflakeアカウントを入力します。SnowflakeのURLの "https://" と ".snowflakecomputing.com" の間の内容になります。
-
-
ROLE
-
Snowflakeに接続した際に割り当てるロール名を入力します。(オプション)
-
-
DATABASE
-
接続してクエリを実行するデータベース名を入力します。
-
-
WAREHOUSE
-
クエリを実行する際に使用する仮想ウェアハウスを入力します。
-
-
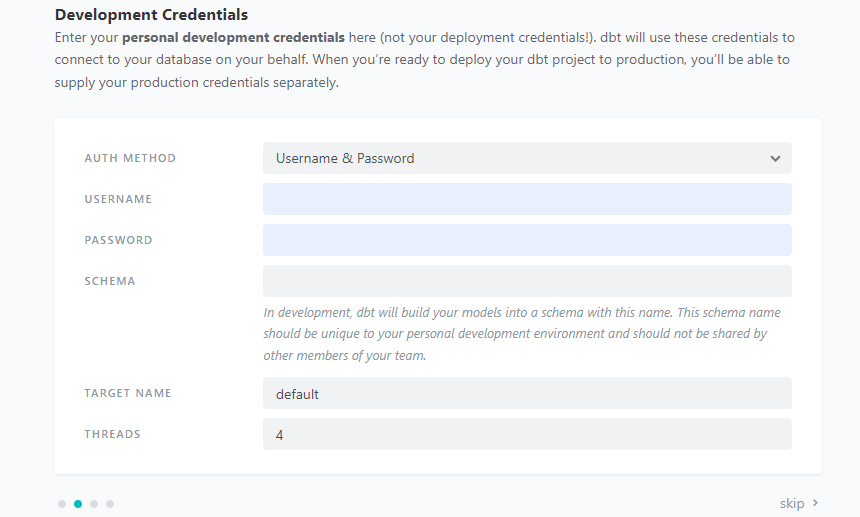
AUTH METHOD
-
認証方法を "Username / Password" と "Keypair" の2種類から選択します。
-
Username / Password:Snowflakeユーザー名と対応するパスワードで認証します。(今回はこちらを使用します。)
-
Keypair:Snowflakeのキーペア認証を使用して認証します。
-
-
USERNAME
-
接続するSnowflakeのログインユーザー名を入力します。
-
-
PASSWORD
-
上記ログインユーザー名に対応したパスワードを入力します。
-
-
SCHEMA
-
クエリを実行した際にテーブルを作成するスキーマ(ターゲットスキーマ)名を入力します。
-
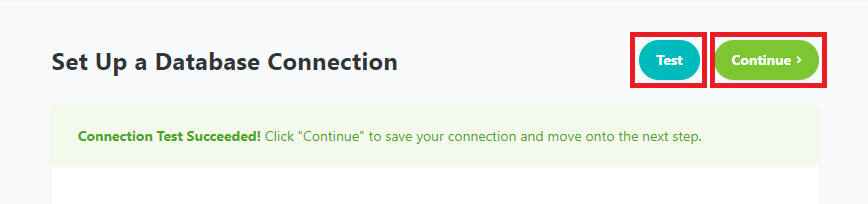
入力できたら画面右上の [Test] をクリックして設定したSnowflakeと接続できるかテストします。テストが完了すると [Test] の右の [Continue] をクリックします。
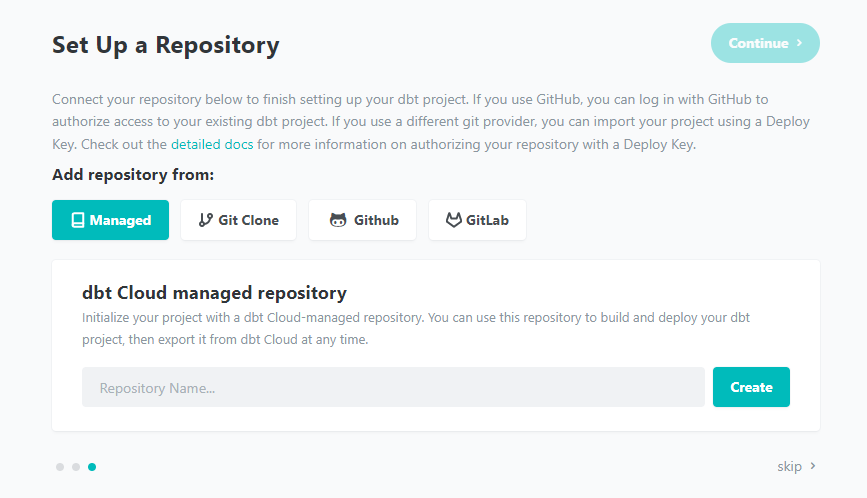
下のような画面に移るので、リポジトリの設定を行います。
GitHubと接続
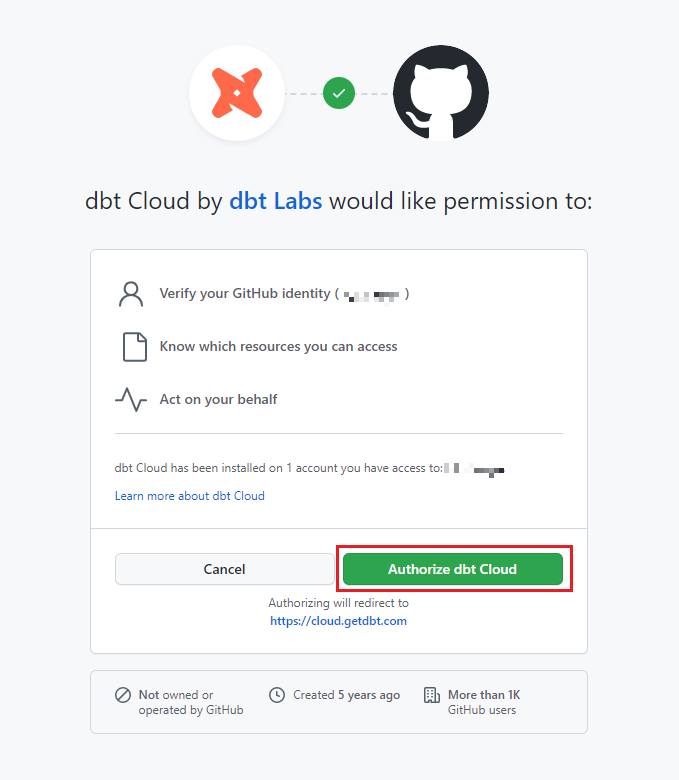
上の画面で [Github] をクリックすると、ログインしているGitHubのページが開くので、[Authorize dbt Cloud] をクリックします。
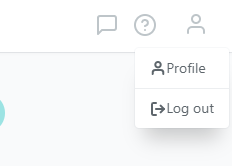
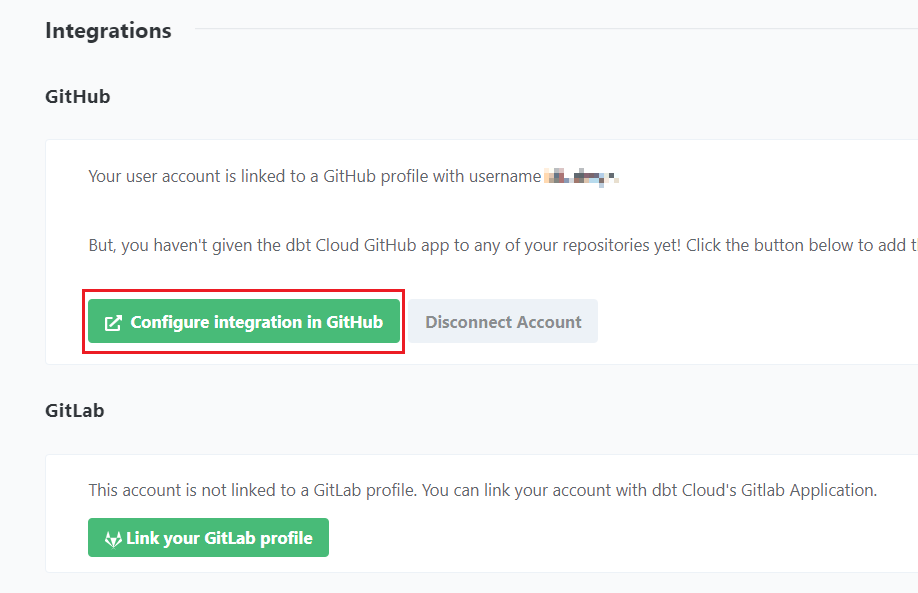
dbtのページに戻ってくるので、続いてdbtアカウントとGitHubアカウントのリンク設定を行います。画面右上のアカウントアイコンから [Profile] をクリックし、画面左のリストから [Integrations] をクリックします。
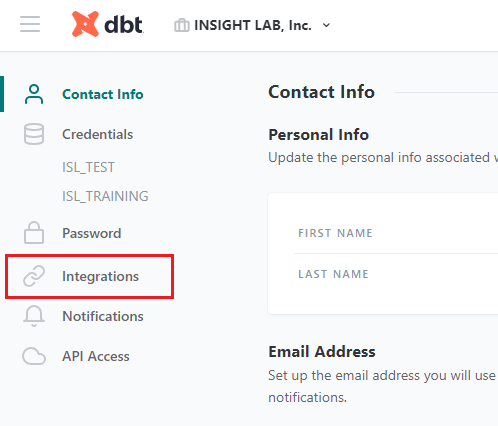
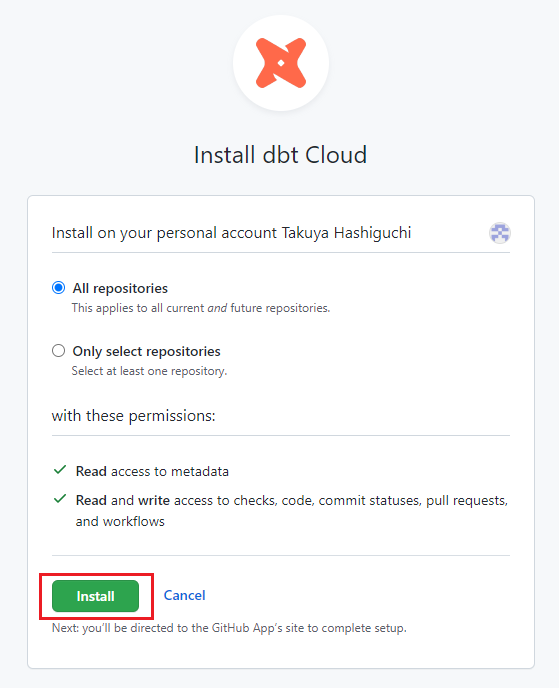
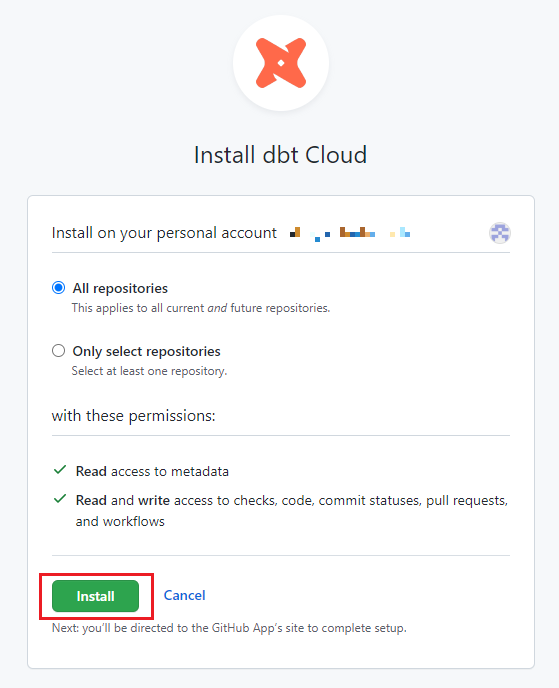
以下の画面に移るので、GitHubの [Configure integration in GitHub] をクリックし、Install dbt Cloudのページに移るので、[Install] をクリックします。
Gitリポジトリと接続
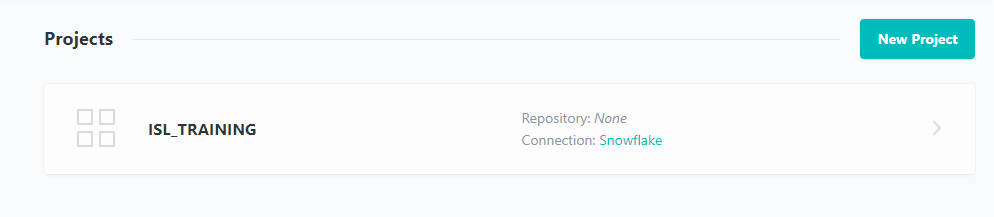
続いて作成したプロジェクトとGitHubリポジトリを紐づけます。画面左上の [≡] から [Account Settings] をクリックし、作成したプロジェクトをクリックします。
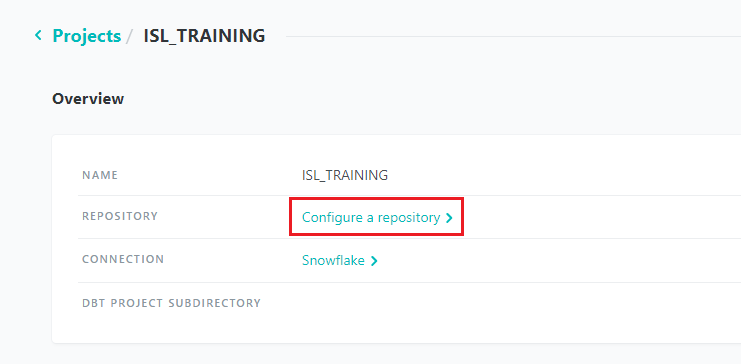
続いて、[Configure a repository >] をクリックし、[Github] から使用するリポジトリを選択します。
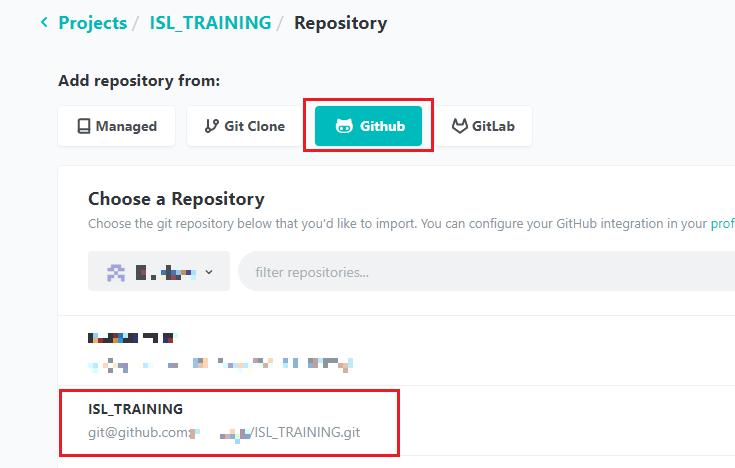
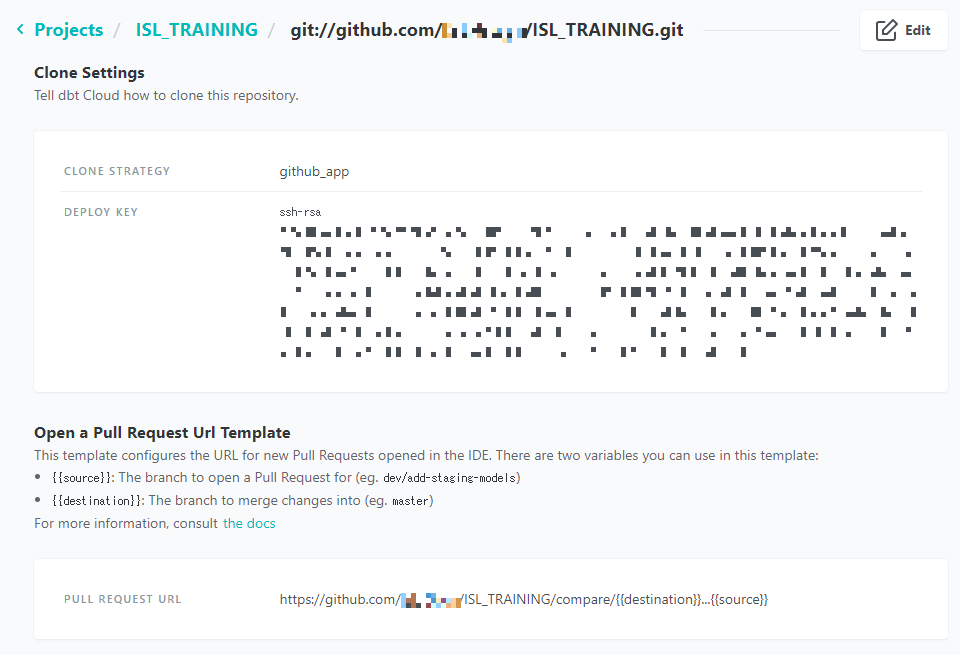
リポジトリを選択し、以下の画面に移ればGitHubの連携は完了となります。
ブランチを切る
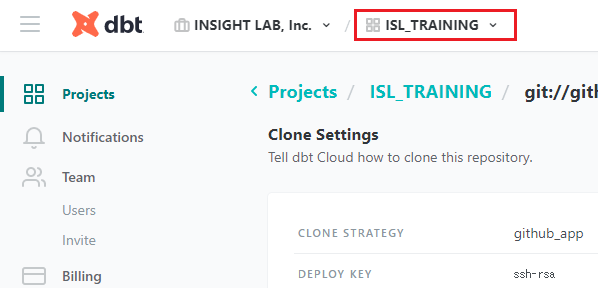
Snowflake - dbt - GutHubの設定が完了したので、開発画面に移動して、個人用のブランチを切ります。先ほどの画面の上部、作成したプロジェクト名をクリックします。
以下の画面に移動するので、 [>_ Start Developing] をクリックすると開発画面に移動できます。

こちらが開発画面になります。
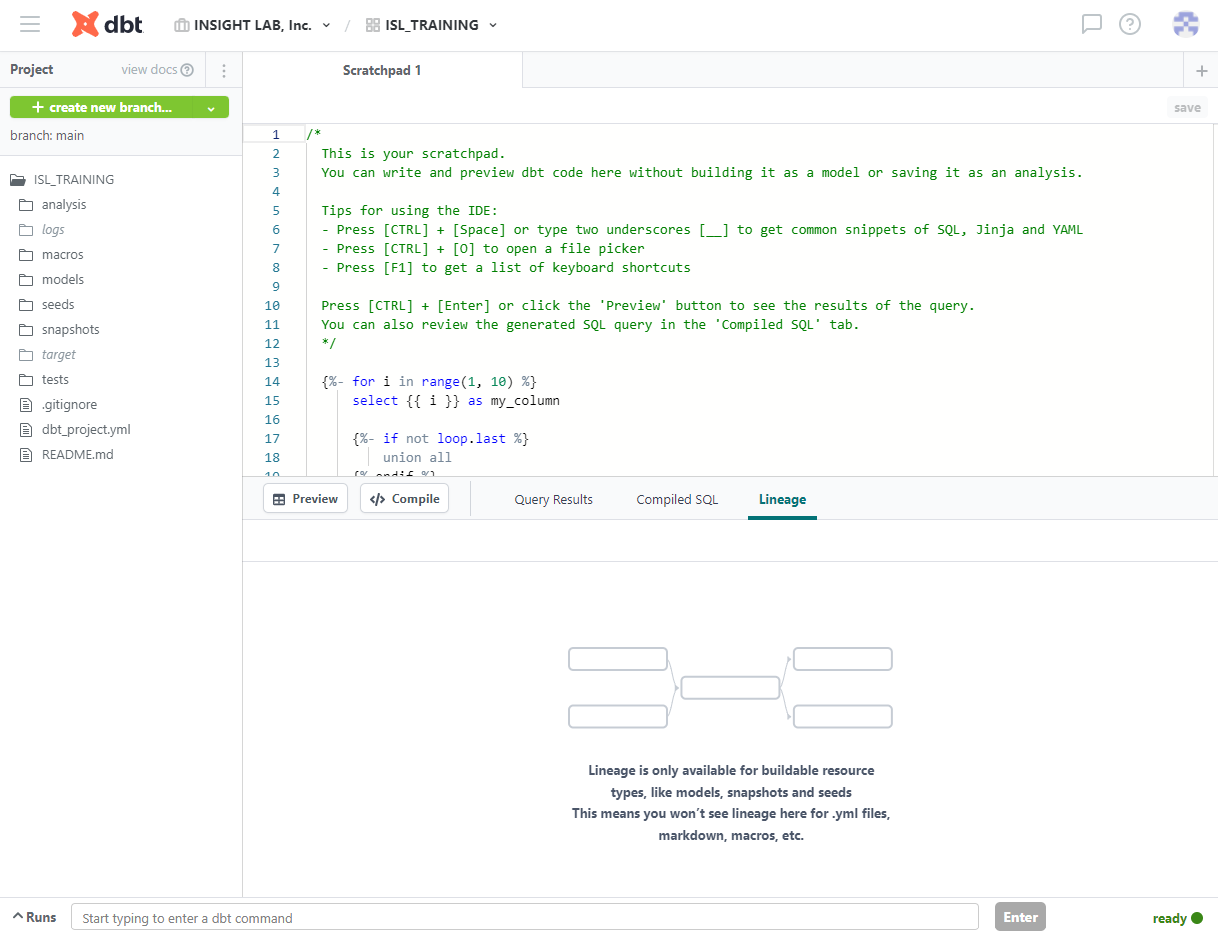
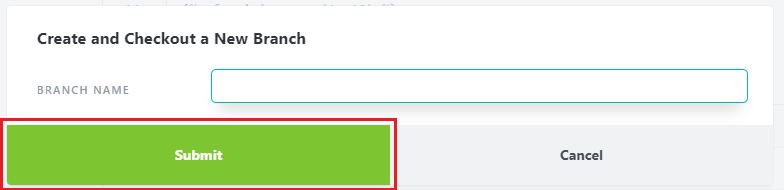
ブランチを切るため、画面に左上の [+ create new branch...] から、任意のブランチ名を入力して [Submit] でブランチを切ることができます。

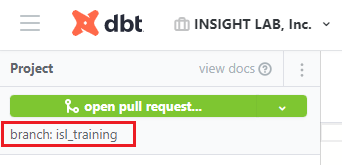
今回は、"isl_training" という名前でブランチを切りました。画面左上を確認すると、作成したブランチに切り替わっていることが分かります。
まとめ
今回は、dbtでデータパイプライン構築のため、Snowflakeとの接続など環境準備に関して簡単に説明しました。より詳しい情報については、dbt公式のドキュメントを参照ください。
Snowflakeを体験してみませんか?
INSIGHT LABではSnowflake紹介セミナーを定期開催しています。Snowflakeの製品紹介だけでなく、デモンストレーションを通してSnowflakeのシンプルなUI操作や処理パフォーマンスの高さを体感いただけます。